INTRODUCTION
There are certain instances where mold growth may occur only on surfaces without direct water damage due to secondary water damage from elevated humidity. This growth on bathroom ceilings, within indoor pool enclosures, and other high humidity areas is fairly easy to clean (refer to section 12.2.6 of the IICRC standard).
The following steps will allow you to use Dot for the quick and efficient cleaning of staining on drywall that has experienced secondary damage. They will also provide an outline for cleaning post-demolition and HEPA vacuuming (removal of surface dust and debris).
GETTING STARTED
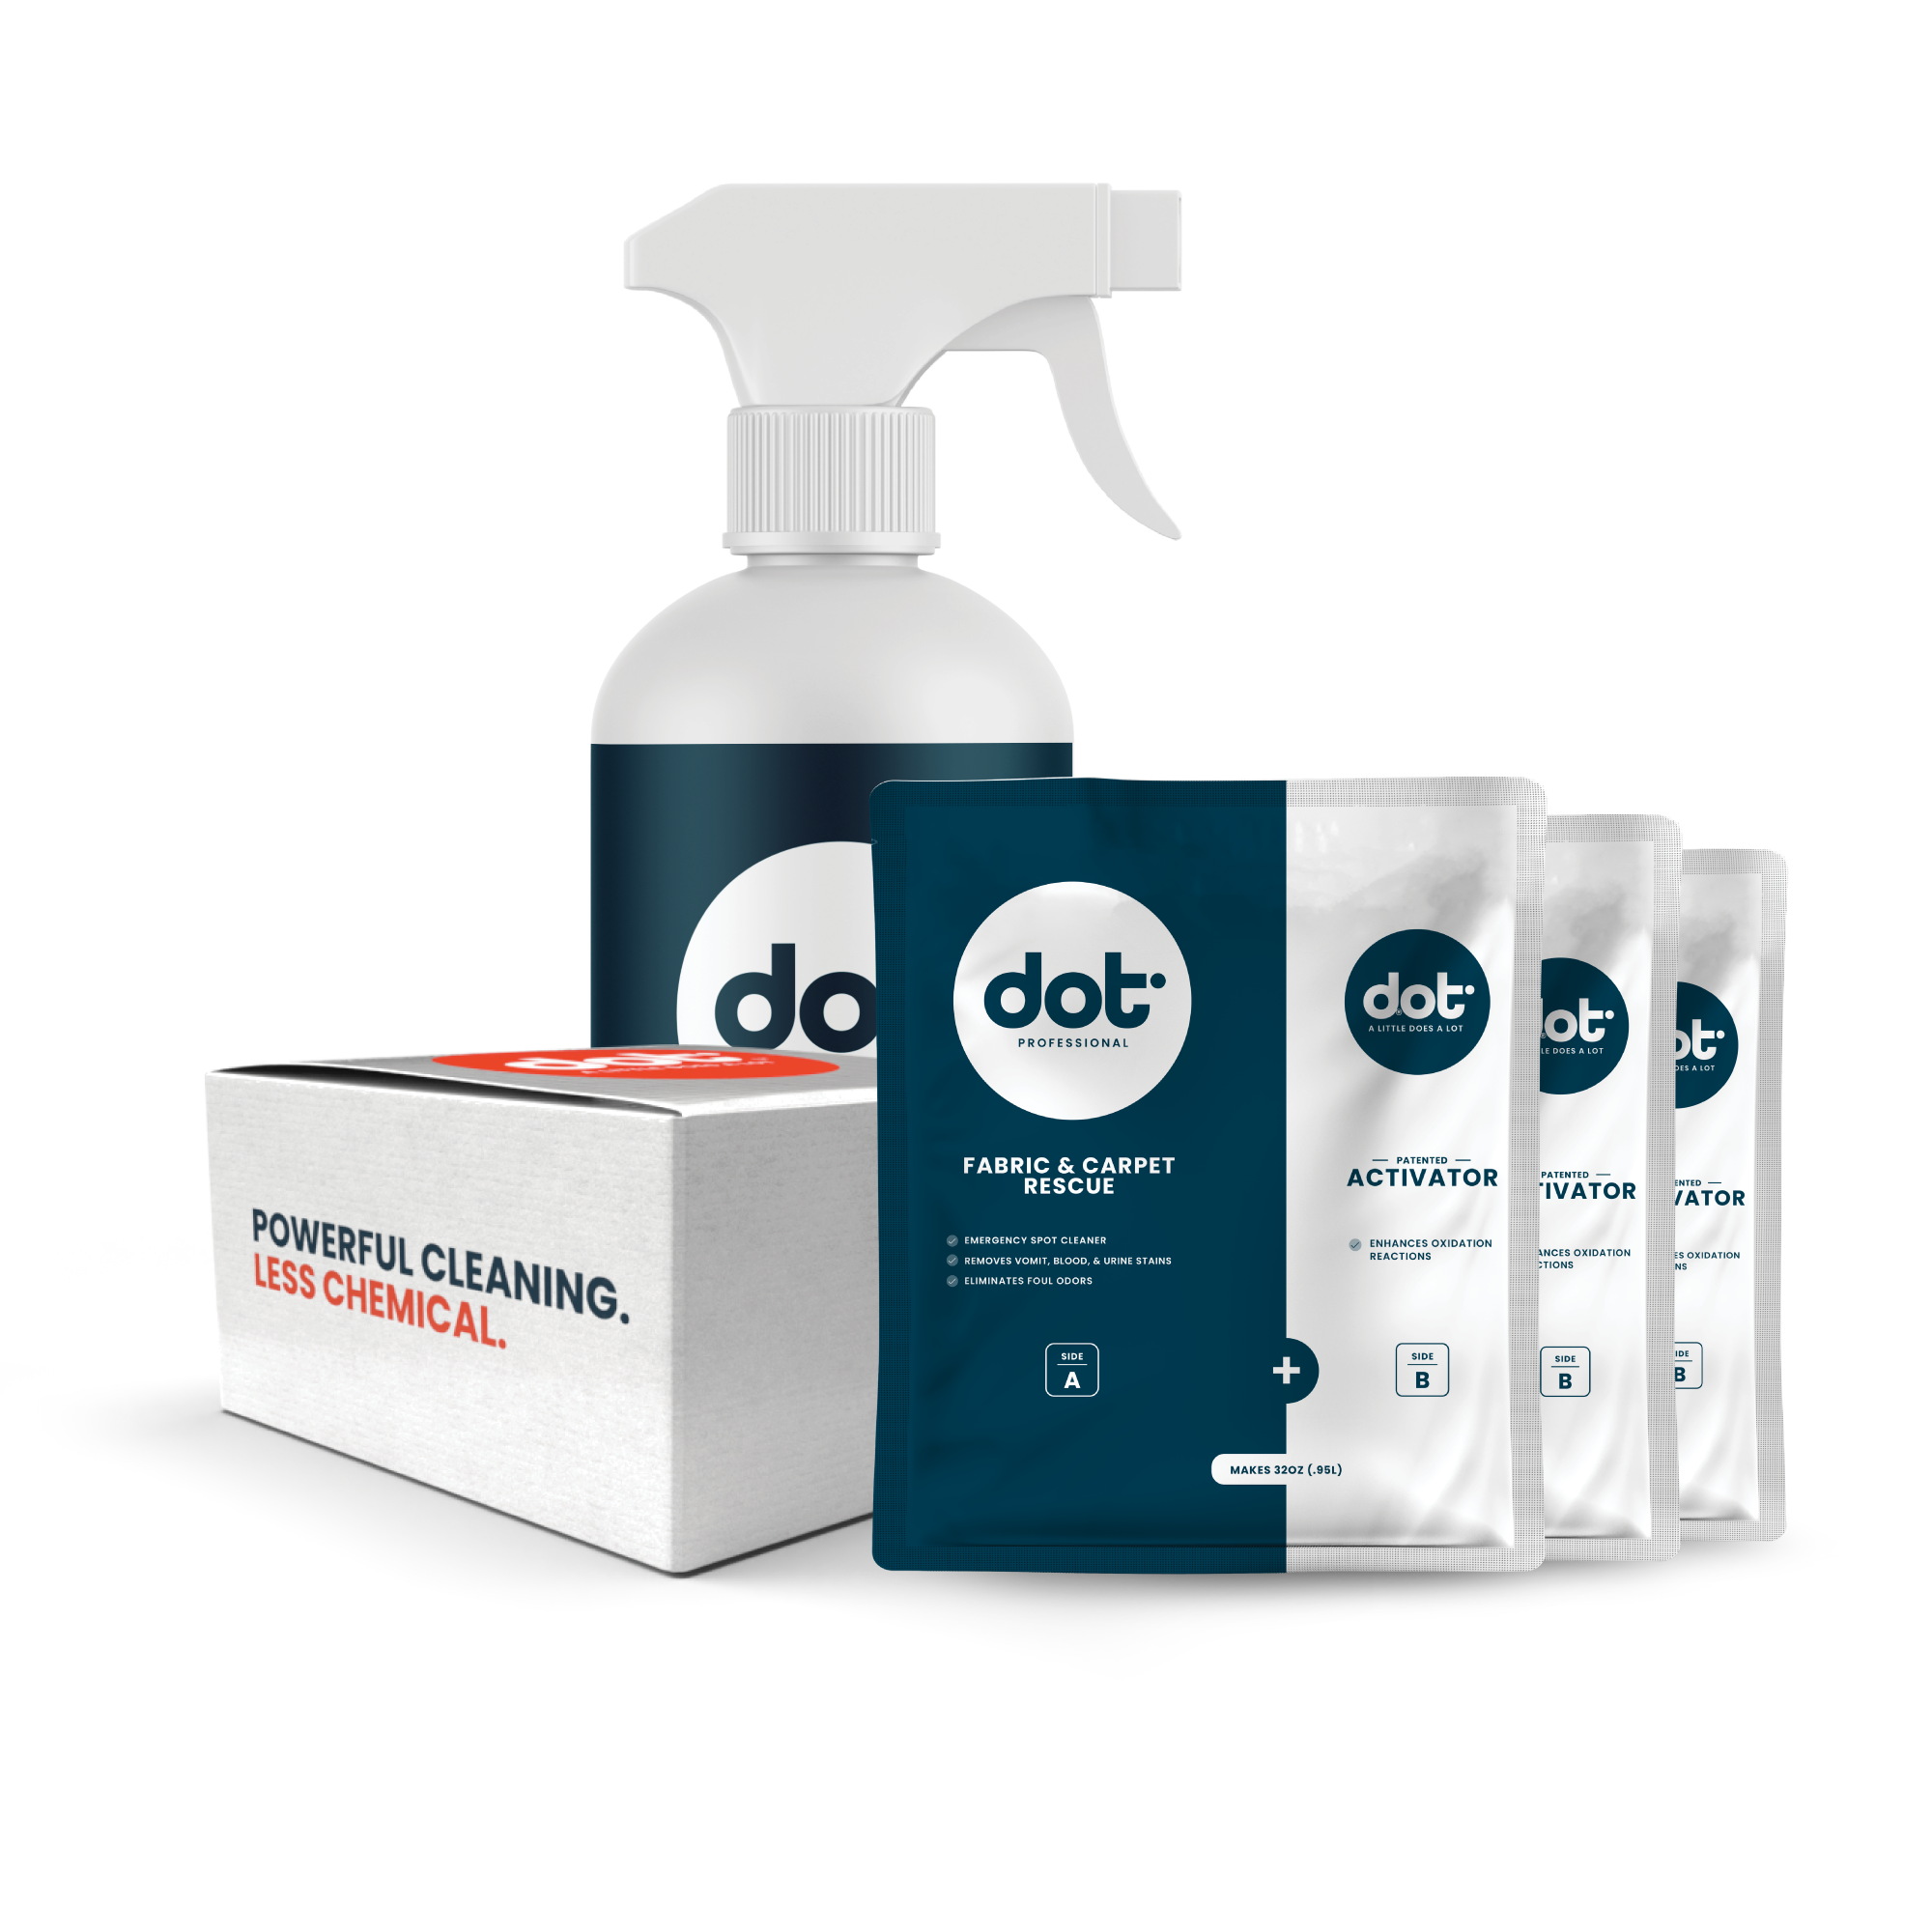
Which Dot Product Should I Use?
For interior cleaning, lighter staining, and surface cleaning, we recommend Surface Cleaner & Deodorizer. This cleaner will perform with minimal odor and 30x less chemical than competitor products.
Heavier areas of contamination or surface cleaning may require the use of Extra Strength Mold Stain Remover. This product will rapidly remove staining and soiling with lower odor, while still using 4x less chemical.
What You Will Need For The Job
- Surface Cleaner & Deodorizer or Extra Strength Mold Stain Remover
- Scissors/Knife
- Power Drill + Paint Mixer
- Mixing Bucket
- Preferred Spraying Equipment (Powered Systems Recommended for Tougher Jobs)
- Rags, Microfiber Towels, and Mops
- Trash bag(s)
- PPE
What Dot Does NOT Clean
Dot is designed to remove mold and other organic stains through oxidation. There are other types of stains you may find on wood that will not be removed by Dot or any oxidation methods. These stains include:
-
Water staining/marking in wood
-
Rust and/or iron oxide in wood. Iron oxide reacts with tannins in wood materials to form dark black staining that flows from nails or metal components.
-
Inks, dyes, or grease staining
Prepping The Space
All confined space work should be done with two people and workers should wear appropriate PPE for the space and job.
-
You should plan on approximately 1 gallon of mixed product per 500 square feet of floor space. Smaller areas, such as a standard bathroom ceiling, can generally be cleaned with a quart of cleaning product or less.
-
Protect items in the home and other surfaces. Dot is a powerful oxidation-based cleaner that can cause color loss or discoloration in textiles that are not color-fast (cotton, nylon). Cover carpeting, furniture, and other items prone to bleaching. When applying to colored drywall, some discoloration may occur.
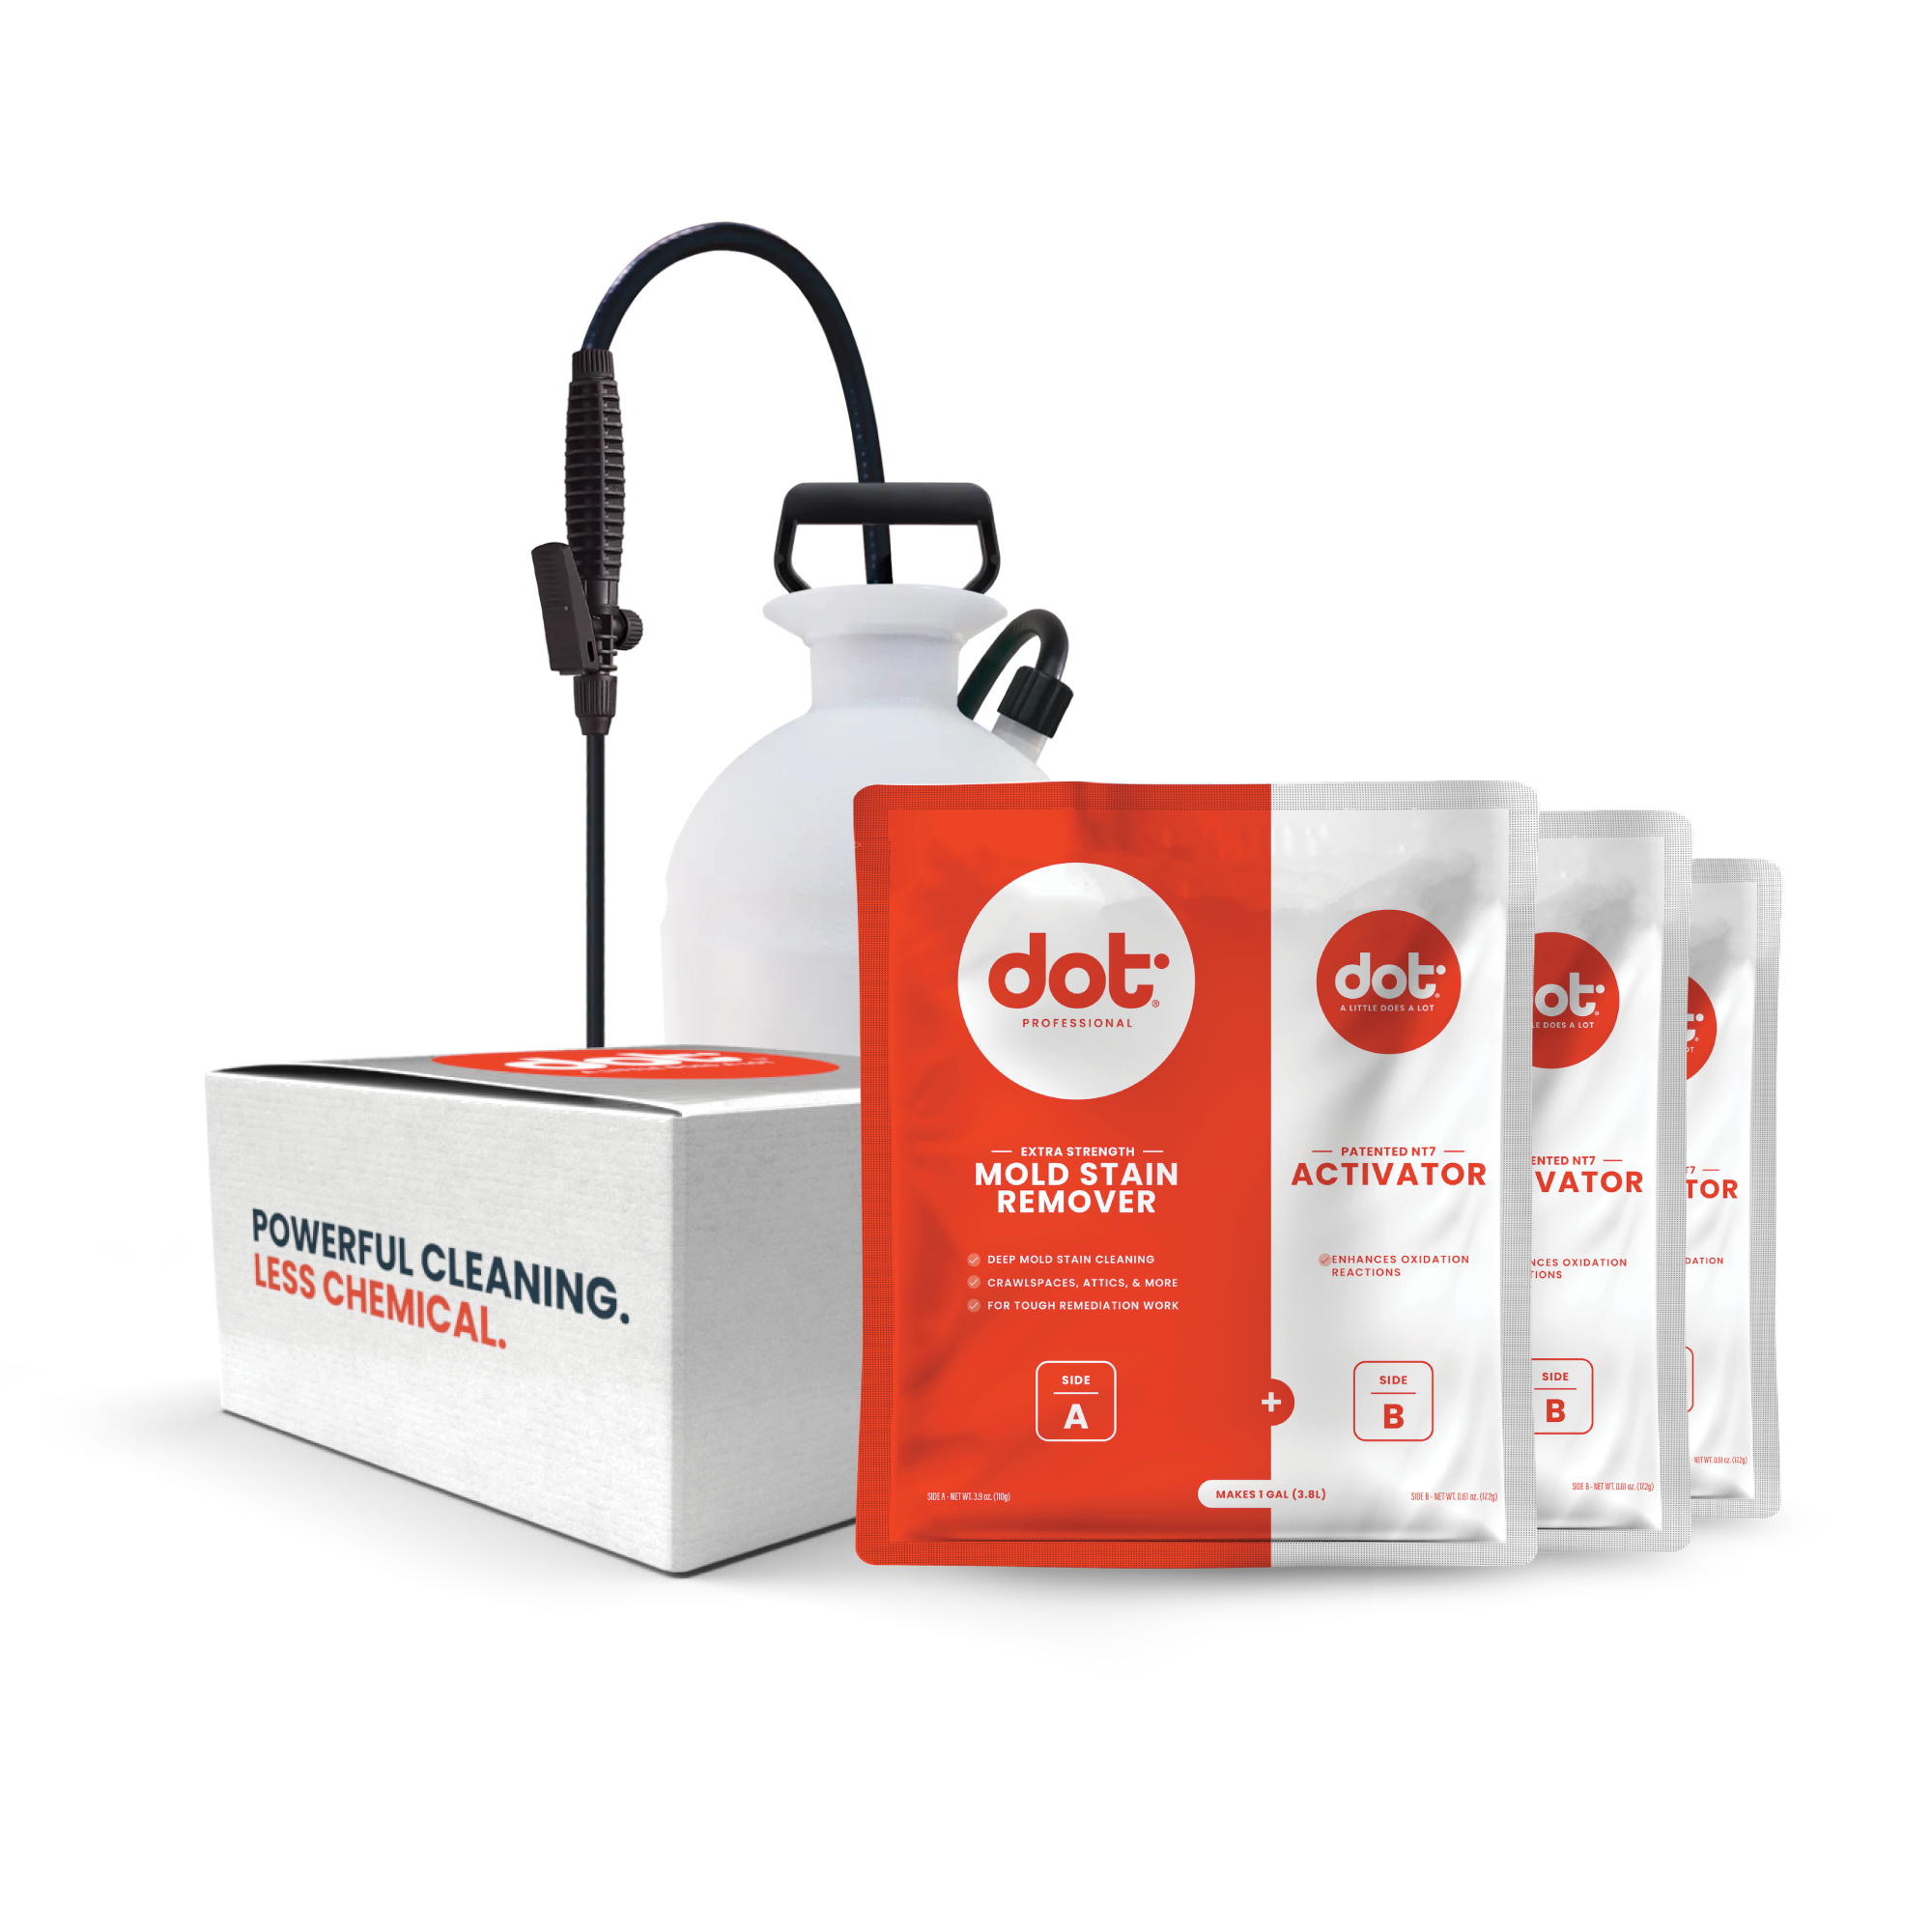
How To Mix Dot Cleaner
Dot® pouches are split into two sides: Side A contains an Oxidizer, and Side B contains our patented Activator. When our patented Activators are mixed with the oxidant, Dilute Oxidation Technology® is engaged, resulting in powerful cleaning with dramatically less chemical.
-
Fill mixing container with 1 gallon of water for every gallon of Dot you need. For best results, use hottest available water.
-
Pour Side A contents of all pouches into the water. Stir powder vigorously until fully dissolved. For best results, use a power drill with a paint mixer attachment.
-
Pour Side B contents of all pouches into mixed solution. Stir vigorously until fully dissolved.
-
Pour Dot Cleaner into your preferred spaying equipment. Power Systems are recommended, especially for tough jobs. (Optional) If mixing quarts, the Side A may be added to a spray bottle and allowed to sit for 5-10 minutes during setup. Then, add in Side B and shake vigorously for about 1 minute. Shake periodically during use.
HOW TO APPLY DOT CLEANER TO DRYWALL
For ‘spray and wipe’ applications (especially efficient over large areas):
-
Apply product to surface and allow to dwell for 5-10 minutes. For heavy staining, extend dwell time.
-
Wipe residual product from surfaces using a damp wipe cloth, a microfiber cloth, or mop head. For large areas, the use of microfiber mops for solution collection is quick and efficient.
For ‘damp wipe’ applications:
-
Pour mixed cleaner into bucket.
-
Add multiple microfiber towels and/or mop heads
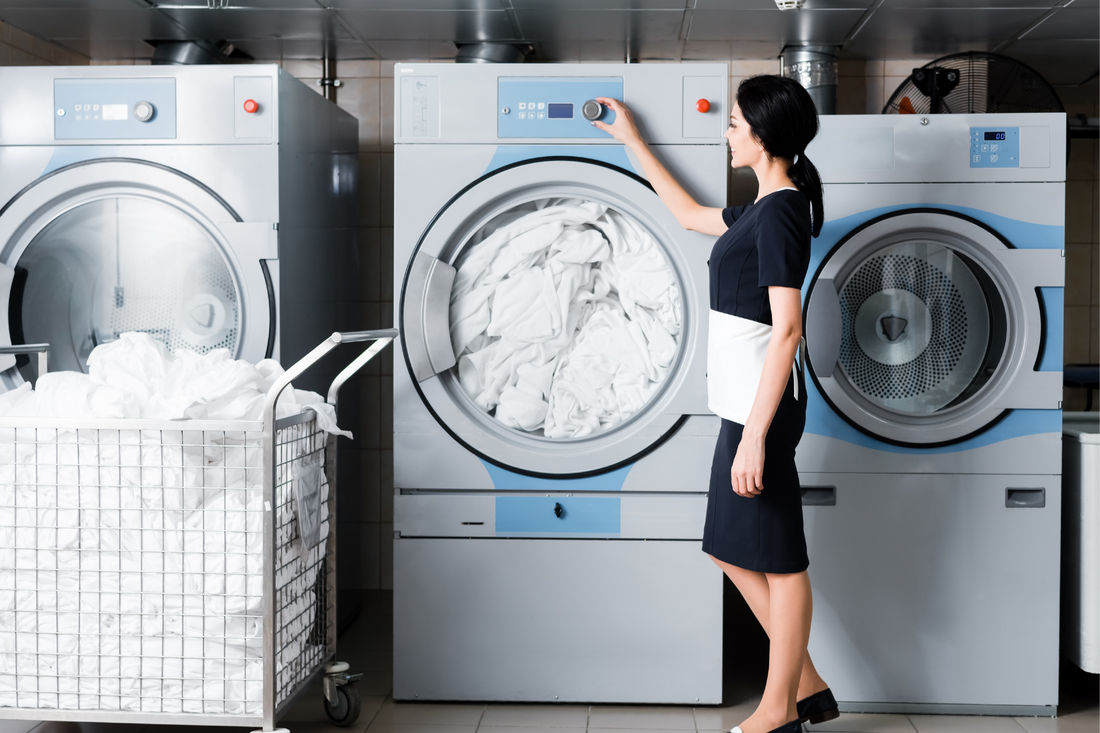
-
Remove towel or mop head from bucket, move across surfaces to be cleaned in a smooth even motion. When towel becomes dry or soiled, set aside for laundering and retrieve a fresh towel or mop head to continue.
FINISHING UP
Allow product to dry on surfaces.
Apply antimicrobials after cleaning is completed.
Mold resistant barriers (paints or polymers) can generally be applied once cleaned surfaces are dry to the touch.
Note: Any white residues are harmless salts. They may be removed with a damp wipe using plain water or with antimicrobials like hypochlorous acid.